> ## Documentation Index
> Fetch the complete documentation index at: https://docs.usefusion.ai/llms.txt
> Use this file to discover all available pages before exploring further.
# Quickstart
> Go from sign-up to a published quest in under 5 minutes.
This guide walks you through creating your first quest with prompts, experiments, and onboarding — then publishing it for participants.
## 1. Sign Up
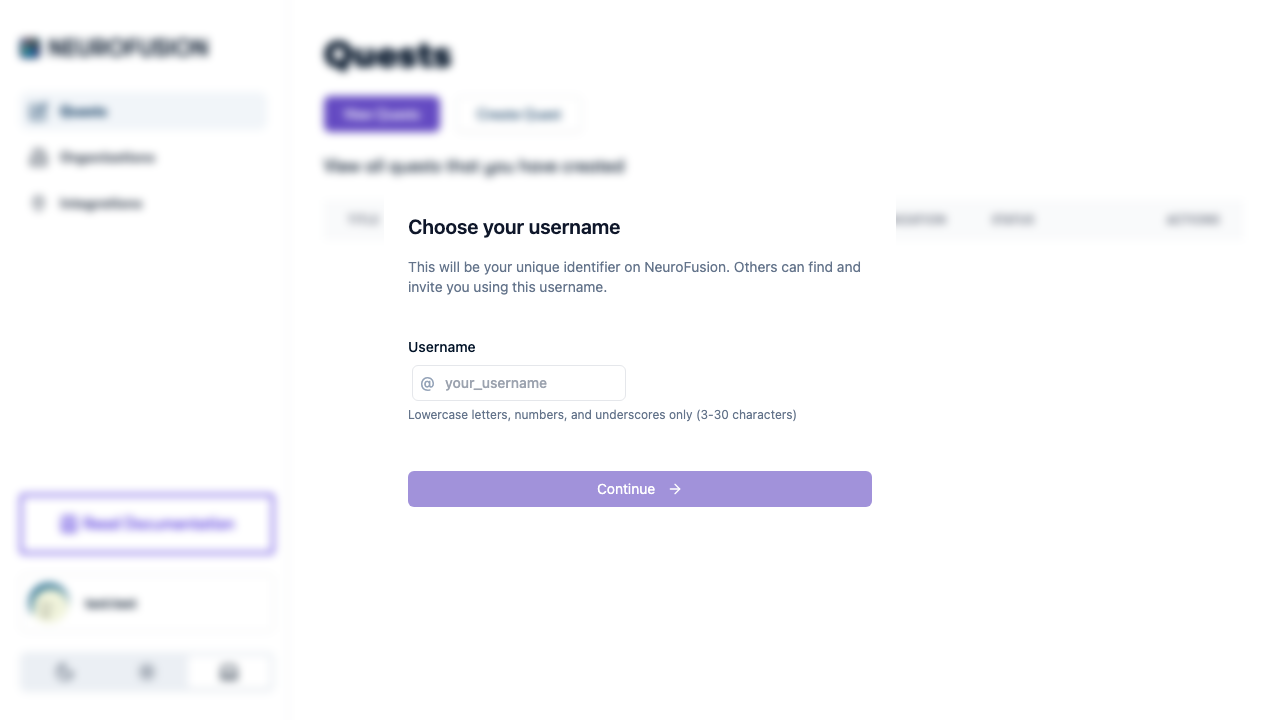
Go to [usefusion.ai](https://usefusion.ai) and create an account. You'll be signed in and taken to your dashboard.
 ## 2. Create an Organization
Every quest belongs to an organization. You must create one before you can create quests.
1. Navigate to **Organizations** in the sidebar
2. Click **Create Organization**
3. Enter a name and billing email (required), plus an optional description
4. Your new org starts with **free bonus credits**
You can create multiple organizations — for example, one per lab, project, or study.
## 3. Create a Quest
1. Go to **Quests** and click **Create Quest**
2. Select which organization the quest belongs to using the **org selector dropdown**
3. Fill in the quest title, description, and category
## 4. Add Prompts
Prompts are recurring questions delivered to participants on a schedule. Every quest needs at least one.
1. Click **Add Prompt**
2. Enter the prompt text (e.g., *"How are you feeling right now?"*)
3. Choose a **response type**: Yes/No, Text, Number, Number Range, or Custom Options
4. Select a **category** (e.g., Mental Health, Productivity)
5. Set the **schedule**: which days, what time window, and how often
See [Prompts](/prompts/overview) for the full guide on response types, categories, scheduling, and conditional notifications.
## 5. Add an Experiment (Optional)
Experiments are interactive jsPsych tasks that participants complete.
1. Click **Add Experiment**
2. Enter a name and optional description
3. The code editor opens with a default **jsPsych 8.0.3 template** — edit it or paste your own code
4. Use the **live preview** to test your experiment
5. Upload images, audio, or video using the **media uploader**
See [Experiments](/experiments/overview) for the full experiment editor guide, media uploads, and ordering.
## 6. Configure Onboarding (Optional)
Onboarding lets you show a consent form and screen participants before they join.
1. Write a **full-text overview** with your informed consent language, study purpose, and data usage
2. Add **onboarding questions** for eligibility screening (e.g., *"How old are you?"*)
3. Set **question guards** to block ineligible participants (e.g., must be 18 or older)
See [Onboarding & Consent](/onboarding/overview) for the full onboarding configuration guide.
## 7. Save and Publish
1. Click **Save** — this generates a unique quest URL and enables media uploads
2. Click **Publish** to make the quest available to participants (consumes credits — see [Pricing](https://usefusion.ai/pricing))
3. Share the quest link directly, via QR code, or paste it as a Prolific study URL
## What Happens Next
* **Participants** open the quest link → complete onboarding → answer prompts on schedule → complete experiments
* **You** monitor responses, billing, and participant data from the organization dashboard
* **Data** is stored securely and can be exported for analysis
## Next Steps
Learn about quest anatomy and configuration.
End-to-end guide for running a research study.
Set up teams with permissions and shared billing.
Recruit participants through Prolific.
## 2. Create an Organization
Every quest belongs to an organization. You must create one before you can create quests.
1. Navigate to **Organizations** in the sidebar
2. Click **Create Organization**
3. Enter a name and billing email (required), plus an optional description
4. Your new org starts with **free bonus credits**
You can create multiple organizations — for example, one per lab, project, or study.
## 3. Create a Quest
1. Go to **Quests** and click **Create Quest**
2. Select which organization the quest belongs to using the **org selector dropdown**
3. Fill in the quest title, description, and category
## 4. Add Prompts
Prompts are recurring questions delivered to participants on a schedule. Every quest needs at least one.
1. Click **Add Prompt**
2. Enter the prompt text (e.g., *"How are you feeling right now?"*)
3. Choose a **response type**: Yes/No, Text, Number, Number Range, or Custom Options
4. Select a **category** (e.g., Mental Health, Productivity)
5. Set the **schedule**: which days, what time window, and how often
See [Prompts](/prompts/overview) for the full guide on response types, categories, scheduling, and conditional notifications.
## 5. Add an Experiment (Optional)
Experiments are interactive jsPsych tasks that participants complete.
1. Click **Add Experiment**
2. Enter a name and optional description
3. The code editor opens with a default **jsPsych 8.0.3 template** — edit it or paste your own code
4. Use the **live preview** to test your experiment
5. Upload images, audio, or video using the **media uploader**
See [Experiments](/experiments/overview) for the full experiment editor guide, media uploads, and ordering.
## 6. Configure Onboarding (Optional)
Onboarding lets you show a consent form and screen participants before they join.
1. Write a **full-text overview** with your informed consent language, study purpose, and data usage
2. Add **onboarding questions** for eligibility screening (e.g., *"How old are you?"*)
3. Set **question guards** to block ineligible participants (e.g., must be 18 or older)
See [Onboarding & Consent](/onboarding/overview) for the full onboarding configuration guide.
## 7. Save and Publish
1. Click **Save** — this generates a unique quest URL and enables media uploads
2. Click **Publish** to make the quest available to participants (consumes credits — see [Pricing](https://usefusion.ai/pricing))
3. Share the quest link directly, via QR code, or paste it as a Prolific study URL
## What Happens Next
* **Participants** open the quest link → complete onboarding → answer prompts on schedule → complete experiments
* **You** monitor responses, billing, and participant data from the organization dashboard
* **Data** is stored securely and can be exported for analysis
## Next Steps
Learn about quest anatomy and configuration.
End-to-end guide for running a research study.
Set up teams with permissions and shared billing.
Recruit participants through Prolific.